For example:
- Import a mesh the shape of which you want to use as the stencil. See Using meshes.
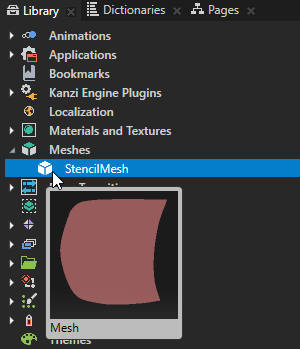
- Create a Model node, name it Stencil, and in the Properties set the Mesh property to the mesh you imported.
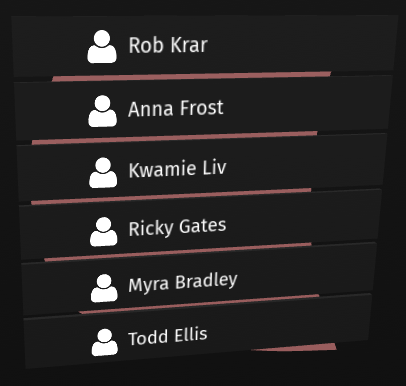
For example, create a Grid List Box 3D node which shows a list of contacts.
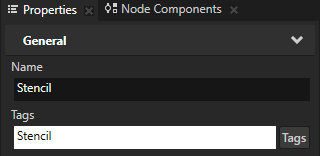
For example, tag the Stencil node with the tag Stencil.
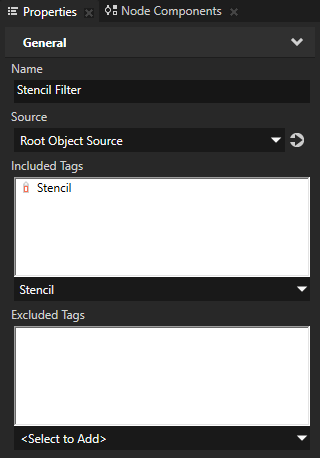
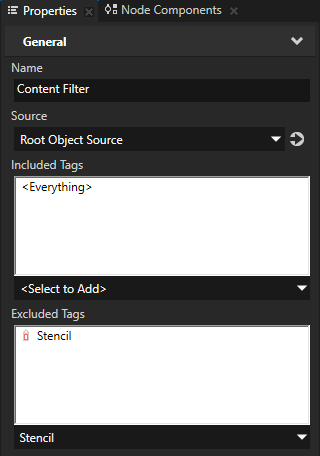
For example, create these Tag Filter resources:
- Stencil Filter and in the Properties add to Included Tags the Stencil tag
- Content Filter and in the Properties add to Excluded Tags the Stencil tag
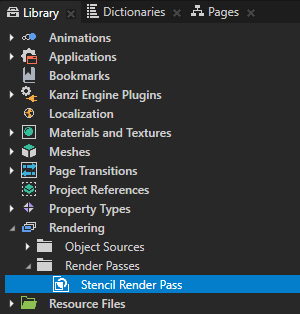
- In the Library > Rendering press Alt and right-click Render Passes, select Group Render Pass, and name it Stencil Render Pass.
You use a Group Render Pass to collect the render passes which apply a stencil on the content.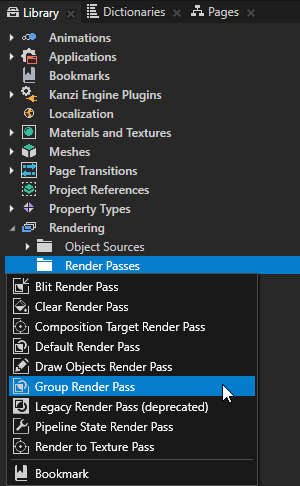
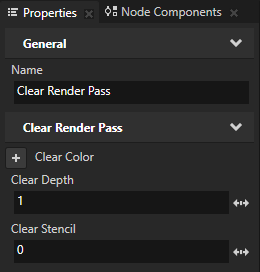
- In the Library > Rendering > Render Passes > Stencil Render Pass create a Clear Render Pass, in the Properties add the Clear Stencil property, and set it to 0.
This way you clear the stencil buffer by writing the value 0 to all pixels in the stencil buffer.
You use the stencil buffer later in this procedure to limit the area of rendering to the shape of the Stencil node.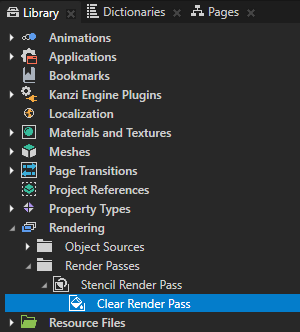
- In the Project select the Scene node which contains the Stencil node and the node to which you want to apply the stencil, and in the Properties set the Render Pass property to the Stencil Render Pass.
This way you set Kanzi to render the Scene node using the Stencil Render Pass.
The Stencil Render Pass does not draw anything on the screen yet.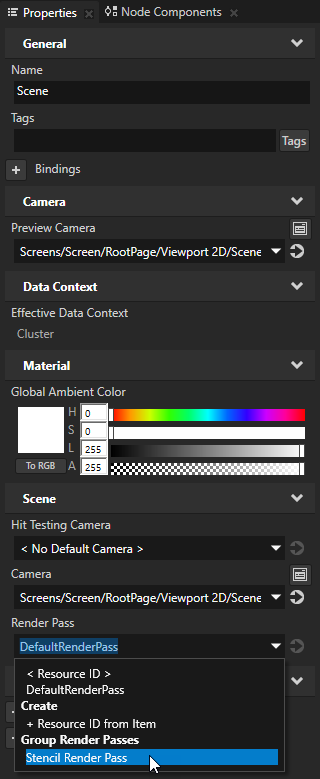
- Write to the stencil buffer the shape of the Stencil node:
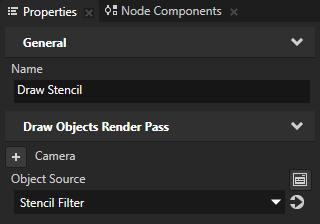
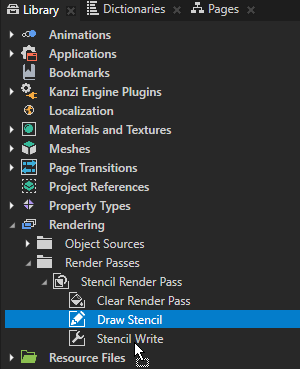
- In the Library > Rendering > Render Passes > Stencil Render Pass create a Draw Objects Render Pass, name it Draw Stencil, in the Properties add the Object Source property, and set it to the Stencil Filter Tag Filter.
You use the Object Source property to pass to a Draw Objects Render Pass only the nodes you want it to render.
The Stencil Render Pass renders from the contents of the Scene node only the Stencil node.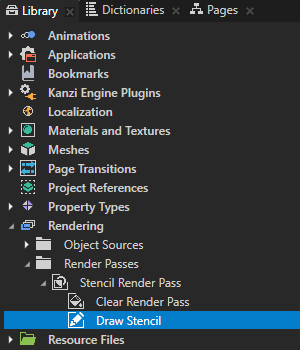

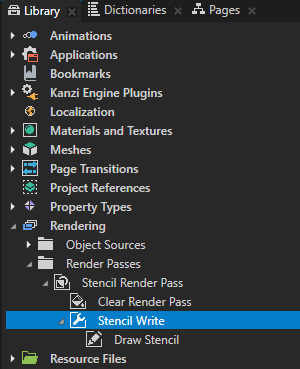
- In the Library > Rendering > Render Passes > Stencil Render Pass create a Pipeline State Render Pass, name it Stencil Write, and drag the Draw Stencil render pass to the Stencil Write render pass.
You use this render pass to write to the stencil buffer.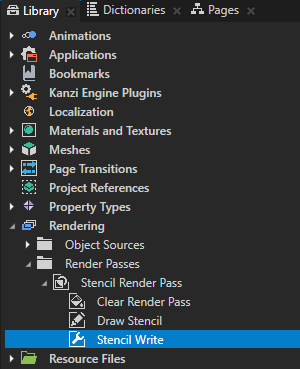
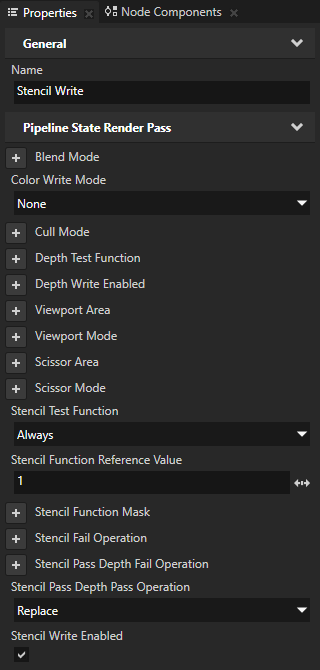
- In the Library > Rendering > Render Passes > Stencil Render Pass select Stencil Write, and in the Properties add and set:
- Color Write Mode to None
This way you make the Stencil node invisible. - Stencil Test Function to Always
You use this property to control how the stencil test compares the stencil reference value to the value in the stencil buffer. You set the property to Always to always pass the test.
This way you make the Draw Stencil render pass write to the stencil buffer the Stencil node.
See Stencil test functions. - Stencil Function Reference Value to 1
By setting Stencil Function Reference Value to 1 you make the Draw Stencil render pass write to the stencil buffer with the value 1. - Stencil Pass Depth Pass Operation to Replace
This way you replace the current value in the stencil buffer with the value of the Stencil Function Reference Value property.
See Stencil operations. - Stencil Write Enabled to enabled
This way you write to the stencil buffer the shape of the Stencil node with the value 1, and leave the value 0 everywhere else.
- Color Write Mode to None
- In the Library > Rendering > Render Passes > Stencil Render Pass create a Draw Objects Render Pass, name it Draw Stencil, in the Properties add the Object Source property, and set it to the Stencil Filter Tag Filter.
For example:
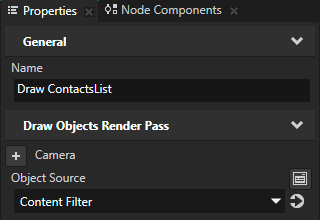
- In the Library > Rendering > Render Passes > Stencil Render Pass create a Draw Objects Render Pass, name it Draw ContactsList, in the Properties add the Object Source property, and set it to the Content FilterTag Filter.
Kanzi now renders all nodes in the Scene except for the Stencil node. Kanzi does not render the Stencil node because the Content Filter excludes the nodes with the Stencil tag.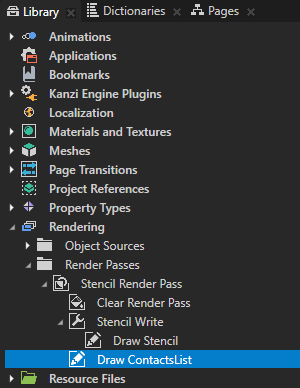

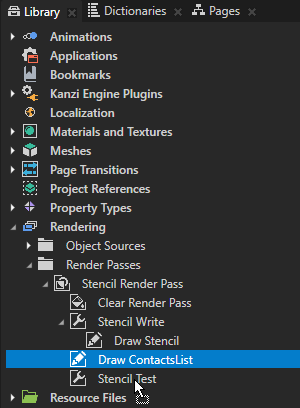
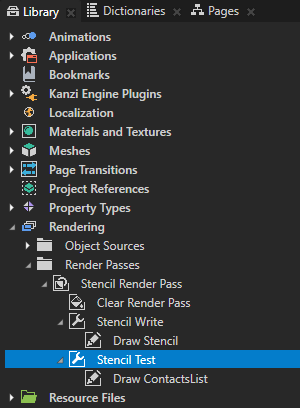
- In the Library > Rendering > Render Passes > Stencil Render Pass create a Pipeline State Render Pass, name it Stencil Test, and drag the Draw ContactsList render pass to the Stencil Test render pass.
In the next step you use the Stencil Test render pass to limit the rendering of the Draw ContactsList render pass to the area you wrote to the stencil buffer earlier in this procedure.
-
In the Library > Rendering > Render Passes > Stencil Render Pass select Stencil Test, and in the Properties add and set:
- Stencil Test Function to Equal
- Stencil Function Reference Value to 1
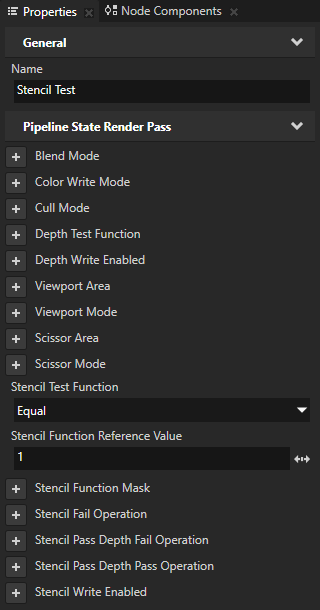
- Stencil Test Function to Equal
